7 | Flowte Account Login
Flowte Account Sign In
With the Flowte sign in feature, when making an online purchase at the Point of Sale, there is a forced login that appears whilst making any purchases online. Customers can now sign up and store all their information under one account. This also allows you to offer special discounts or restrict ticket types to different demographics, as well as ensuring all personal data is captured and can be used for analytics and marketing.
This feature of a forced login can be switched on or off for each organisation depending on their preferences under the Settings menu:
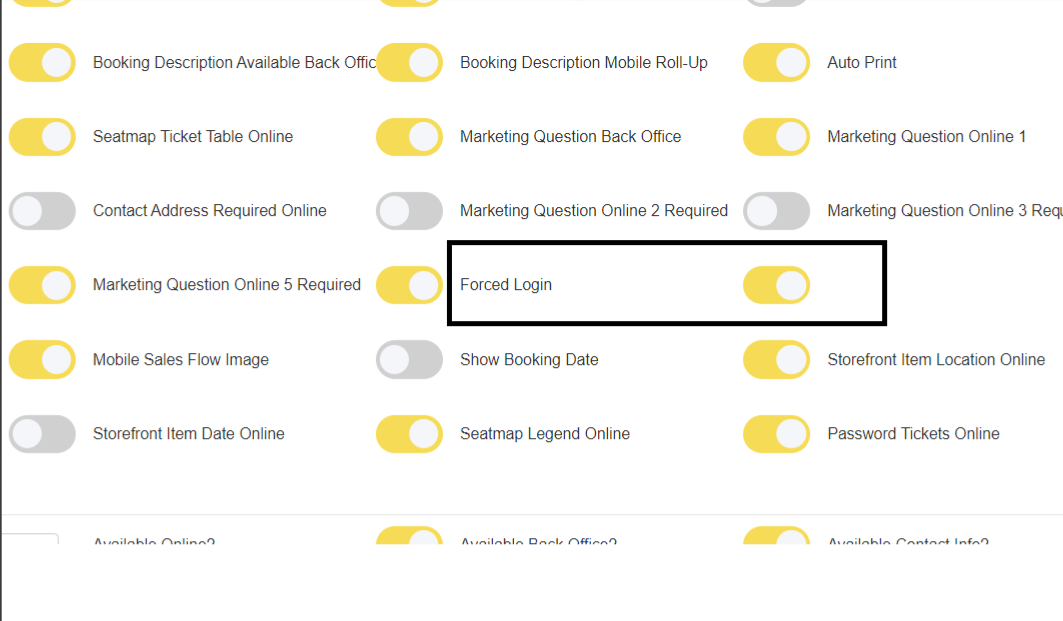
This feature of a forced login can be switched on or off for each organisation depending on their preferences under the Settings menu:
When making a purchase online the customer can either select the "login" or "Sign Up" button located on the top right of the screen, however if the forced login setting is active, when a customer checks out they will be met with the login or sign up screen.
Signup using Google Apple Facebook or email. If you sign up by email, you will be sent a verification code which you need to complete the signup.
Once signed in Flowte will remember your contact details for future purchases.
This feature is there to assist with cases whereby organisations are wanting accurate, precise data details of their customer base, as well as ensuring details such as email addresses are saved to the contact, which can be used for marketing within campaigns. This feature is a strong additive to have and will ensure all transactions are linked to a contact.
Restricted Ticket Types & Account Based Pricing
Adding a contact tag to a ticket type to allow for tagged users to be able to access restricted ticket types.
Login into Flowte.me
Navigate to CRM > Customer Profiles . Create a contact tag.
1. Navigate to Storefront >E-Commerce>Events
2. Select the event you want the tag associated with.
3. Click View/ Edit Times and Prices dropdown > select the section and ticket type you want to add the tag to.
4. Add contact tag(s) from the drop down list (should include the one you assigned to your contact).
5. Click save.
Go to your online Point of sale > choose the event / time you added the tag to - check that the tagged ticket does not display.
 Note: Only customers who have signed up and are tagged will be able to see the ticket you tagged.
Once your customers with the contact tag you have created sign in they will then be able to view and purchase the ticket.