With Payment plans, customers have the flexibility to pay for tickets over time, rather than paying for their order all at once. Customers can pay off their purchase in as many instalments you decide. When customers choose a instalment plan, they will receive an access code, which allows them to purchase the next instalment.
How to create payment plans.
Navigate to Admin > Events > Select the event you want to create the payment plan for.
1. Create a new ticket type in the event page.
In the ticket description indicate to your customers that they will receive a discount code for the second payment.
2. Choose your Ticket Sales start and end date.
Decide how long you want to ticket to run. This will decide how long your customers have to purchase the ticket. For example the first instalment is available to be purchased for 1 month.
3. Create the second instalment:
a. Add a new ticket by clicking the "Add Ticket" button.
b. Name the ticket e.g 2nd instalment. Set your price and add a description.
c. Set your Ticket Sales start and end date. This ticket will begin selling the day the first instalment ticket stops selling.
d. De-select "Available online". This is done so when a customer goes to purchase the first instalment, they should not be able to see or purchase the 2ndinstalment. You can make this available online again once the sell date for first instalment has passed.
e. Set max tickets per order at 1. This allows only one ticket is available for this purchase order. This is to stop others using your discount code to purchase a third instalment.
4. Repeat for the 3rd/4th/5th instalment.
The amount of instalments is determined by you.
5. Create your Access Code.
Create an access code for each installment. Make sure each installment ticket has a different access code. E.g For the first installment use access code "Instal001" and for the second installment use "002instal". These access codes will be sent to your customers and will be used to purchase each installment.
6. Send access codes to those that purchased installments.
Navigate to CRM and Automation. Create an email template including the access code to purchase the next installment. Send email campaign to customers that bought previous installment.
7. Adding a custom payment method:
Navigate to Settings
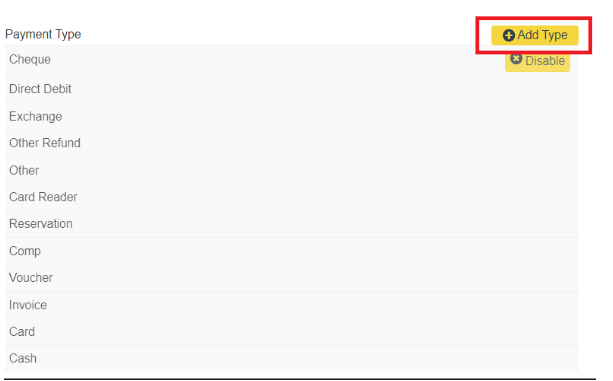
Go to Admin > Preferences > Settings and click on Add Payment Method.

Add a New Payment Type
Once the payment method screen opens, click on Add Type.

Name and Save
Enter the name of your new payment method, then click Save.

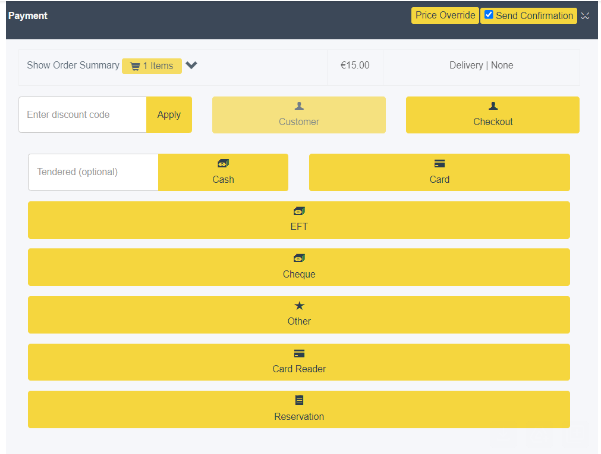
Your custom payment method is now available for use in transactions.

Reporting:
Custom payment methods are fully integrated into the system's reporting functionality. You’ll be able to track and view transactions made with the new method in your reports.

This feature is particularly useful for adding non-standard payment methods like Electronic Funds Transfer (EFT) or cheque, allowing for greater flexibility in payment options for your clients.